
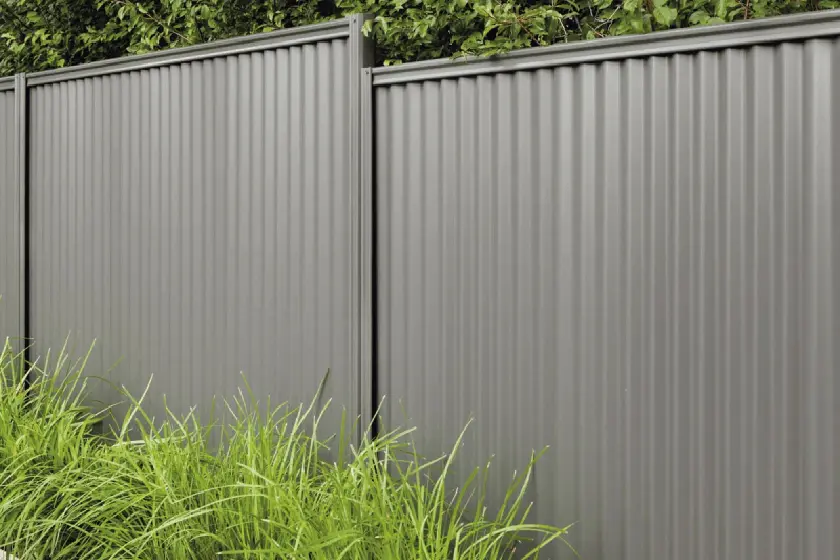
Colorbond fencing looks simple. Posts, rails, sheets, all done by Sunday. For a short, flat run, it can be. But the gap between a fence that stands straight for decades and one that leans after the first big storm comes down to details most guides skip.
Here’s what the fencing job actually involves in Adelaide, so you can decide whether to tackle it yourself or hand it over.
Sort the Paperwork Before You Dig
In South Australia, you need your neighbour’s consent to remove an old fence, build a new one, or step onto their land to do it. Start with a conversation. If you can’t agree, the Fences Act notice process applies. The notice is delivered personally or by registered post, and your neighbour has 30 days to respond.
In residential areas, a steel fence like Colorbond is usually considered an ‘adequate fence’, which makes cost-sharing easier to argue. If you’re unsure where the boundary sits, a licensed surveyor can confirm it, and the survey can be included in the notice.
Anything over 2.1m, or over 1m within 6 meters of a road intersection, needs approval. And call Dial Before You Dig so you don’t hit a buried service.
Installing a Colorbond Fence, Step by Step
- Mark out the posts. Run a string line along the boundary. Post centers equal the bottom rail length plus 10mm, usually 2350–2365mm. Get this wrong, and your last panel won’t fit.
- Dig the holes. Make them 200mm wide. Minimum depth is 400mm in rock, 600mm in clay or firm earth, and around 900mm in loose fill. Skimping on depth is how fences end up leaning.
- Set the posts. Brace each post, check it’s plumb in both directions, and fill with 20MPa concrete. Use the bottom rail to find where the next post goes.
- Fit the bottom rails. Once the concrete has set, fix them level between posts, about 50mm off the ground.
- Slide in the sheets. Seat each sheet in the bottom rail, one at a time, then lift the top rail over it. You’ll want a second person for this.
- Fix the top rail and caps. Secure everything with self-drilling screws, trim any short panel with tin snips, and finish with post caps.
One thing to know: standard Colorbond has its posts and rails on one side only. If you’d rather both sides of the boundary look the same, Good Neighbour fencing uses the same steel sheets in a panel system with no ‘bad side’.
Where Sloping Blocks Change Things
Adelaide’s Hills face, inner north and southern suburbs are rarely flat. On a slope, a fence is either stepped (level panels dropping in stages) or raked (sheets cut to follow the ground). Both work, but each changes your post lengths, rail heights and sheet cuts. This is where DIY jobs most often end up with gaps or uneven lines.
DIY or Hire a Professional?
DIY suits a short, flat run on a boundary you and your neighbour already agree on. A professional makes more sense for long runs, sloping ground, shared boundaries, or when you’d rather not lose several weekends to it. Factor in the gear, too: a post hole digger, levels, string line and a way to mix a lot of concrete. It’s worth pricing both before you commit.
Colorbond Fencing by Master Landscaping Adelaide
At Master Landscaping Adelaide, we install Colorbond and Good Neighbour fencing across Greater Adelaide, from site prep to clean-up. We’ll mark out the line properly, sort the council side, and give you a fixed-price quote with no surprises.
Contact us on 0480 739 400 for a free on-site consultation. Our team typically responds within 24 hours.